Setting up APM (Apache, PHP, MySQL) Environment on Ubuntu


System Specification
| Name | Version |
| VirtualBox | 7.0 |
| Ubuntu | 22.04.2 |
| Windows | 11 |
| CPU | AMD Ryzen 7 5700U |
| RAM | 16.0 GB |
| GPU | - |
| SDD | 512 GB |
Installing Apache2
Open the Ubuntu terminal and enter the following command. If asked if you really want to install, type y and press Enter.
 # Install apache2
 sudo apt install apache2
Enter the server start command to check if the Apache server is installed correctly.
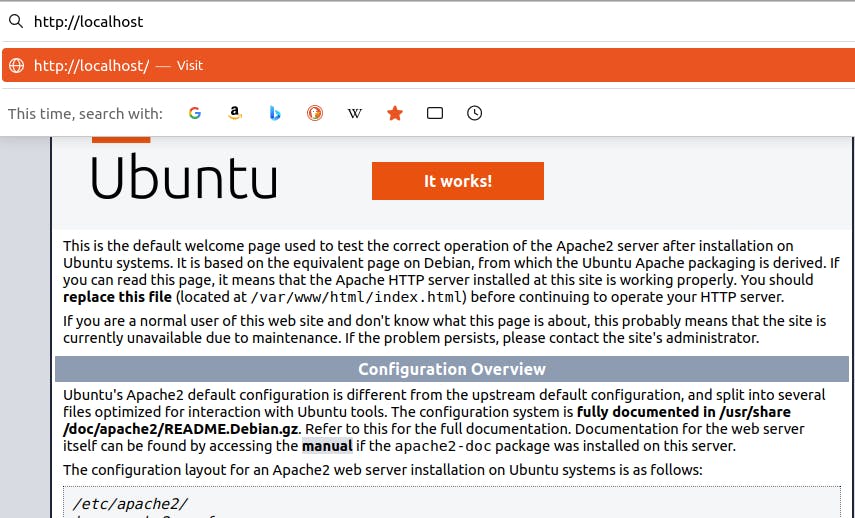
 # Start Apache server
 sudo service apache2 start
 # Stop Apache server
 sudo service apache2 stop
 # Restart Apache server
 sudo service apache2 restart
Open a web browser and go to localhost to check if the server is running.
Installing Mysql
Open the Ubuntu terminal and enter the following command. If asked if you really want to install, type y and press Enter.
 # Install Mysql
 sudo apt install mysql-server
Check the mysql version to make sure it is installed correctly.
 # Check mysql version
 mysql --version
Installing PHP
Open the Ubuntu terminal and enter the following command. If asked if you really want to install, type y and press Enter.
 # Install PHP and modules that allow php to use apache2 and mysql
 sudo apt install php libapache2-mod-php php-mysq
Use the following command to check if it is installed correctly
 # Check php version
 php -v
Testing the server
In order to test if the server is working properly, let's create a php file and test it on the Apache server.
To do this, you need to know basic Linux commands and how to use vim.
vim
The most basic text editor in Linux. Similar to Windows' Notepad.
In the past, vi was used, but vim was created by adding some more features to it.
Vim is a text editor that is designed to edit text without using a mouse by default, so it is very difficult to use without knowing the shortcuts and how to use it.
Depending on the Linux version and type, vim may not be installed.
Necessary Linux commands
bashCopy code
sudo su # Switch to Linux root account. Has the highest privileges of all Linux accounts
cd / # cd is used to move, and adding / moves to the highest-level folder
cd .. # Adds .. to move to the parent folder
ls # Shows the file and folder list of the current directory
vim # Creates or opens a vim file when followed by a file
Necessary Vim commands
Open or create a vim file: vim [filename and extension]
vim phpinfo.php # create or open a php file named phpinfo in the current directoryEdit a vim file: press the "i" key
Pressing the "i" key will change the left bottom corner of the screen to display "INSERT," indicating that you are in insert mode and can edit the file.
Exit insert mode and return to command mode: press the "ESC" key
While in insert mode, you can only type text into the file, but to save the changes, you need to return to command mode and enter a specific command.
Save a vim file: type ":w" in command mode and press Enter
Exit a vim file: type ":q" in command mode and press Enter
Default location of Apache server
/var/www/html
How to test the server
Switch to root account.
Move to the default location of the Apache server.
Create a PHP file in the default location of the Apache server using Vim.
Start the Apache server.
Open a web browser and check if it works correctly.
Step-by-step
sudo su # Enter the password to switch to the root account.
cd /var/www/html # Move to the default location of the Apache server.
ls # Check the files. If you just installed it, there should be only one file named "index.html".
vim phpinfo.php # Create or open a PHP file named "phpinfo".
i # Change to insert mode and type the following contents.
<?php
    phpinfo();
?>
ESC key # Return to command mode in Vim.
:wq # Save and exit Vim.
sudo service apache2 start # Start the Apache server.
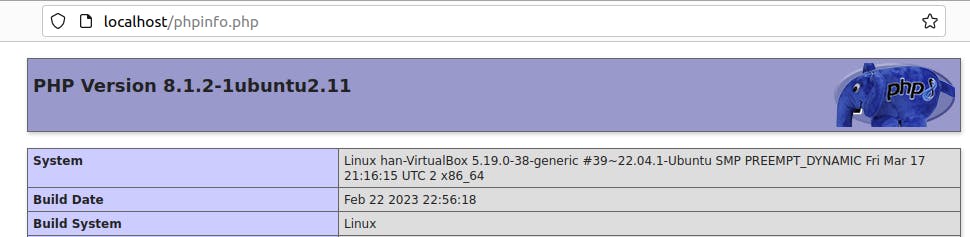
Open a web browser and enter localhost/phpinfo.php to run it.
"phpinfo();" is a command that retrieves PHP version information and details, so the following output will be displayed.